


I recently asked people on the Facebook Page for requests for things to design and the most popular request was for invitations that could be used on Disney World trips.
I loved that idea and today, I have 3 different DIY options that I think are really fun.
Two of these could be done for free and are pretty simple. The third is so charming you might just find it worth the extra steps.
Let’s take a look…
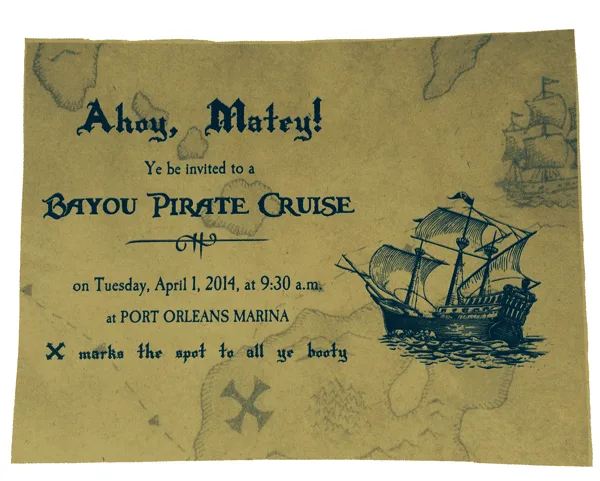
Ye pirate invitation, matey!
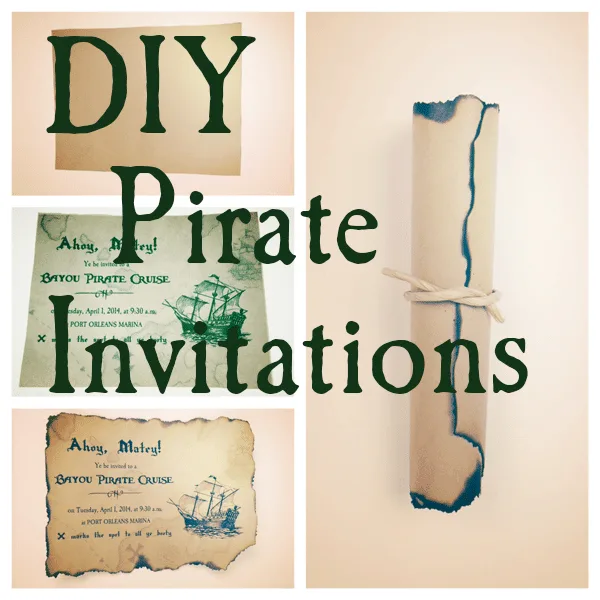
I really like this project because it’s a free project (unless you have to buy a paper bag) which looks great in the end.
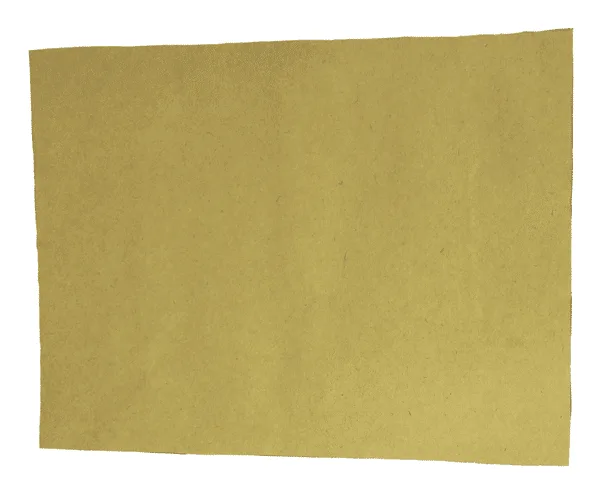
- First, you need paper to print on. I recommend using a paper bag because the weight and texture make these invites feel more piratey (not an actual word – just go with it for now). I actually bought a 99 cent gift bag because all of the bags I had on hand had logos printed on them.
Cut out an 8.5″ x 11″ section that you can feed through your printer.

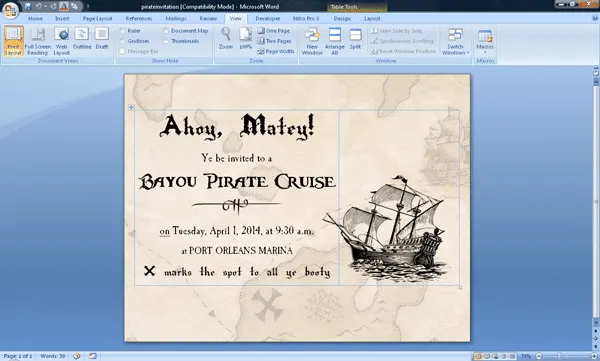
- Next, you’ll need to download and edit the pirate invitation to say what you want it to say.Pirate invitation (Word format)Fonts used: Rapscallion (1st and last lines), Caslon Becker Antique (2nd, 4th and 5th lines), Caribbean (3rd line)

- Put your 8.5 x 11″ piece of paper bag into the printer and print your invitation. If the background doesn’t print, make sure you have background printing turned on within Word.

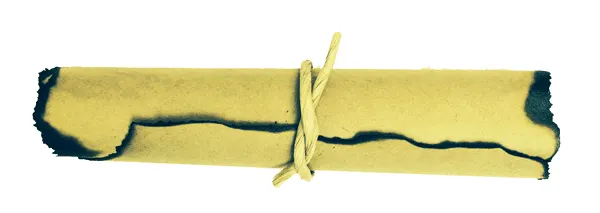
- Next, take the paper and burn the edges. When you’re holding it, whatever edge is parallel to the floor and at the bottom will show the most black coloring from the flames. Do it in small sections, being sure to blow it out quickly.


- Finish it off by rolling it up and tying it with a bit of twine or a small leather lace. Since I bought a paper bag, I cut the handle off of the bag and used that to tie up my pirate map invitation.
In person, this looks more like a rolled up pirate map and less like something Snoop would smoke.

A royal affair – princess scroll invitations

There are lots of princess-themed events at Disney World and these scroll invitations are the perfect way to invite a princess to attend any royal affair.
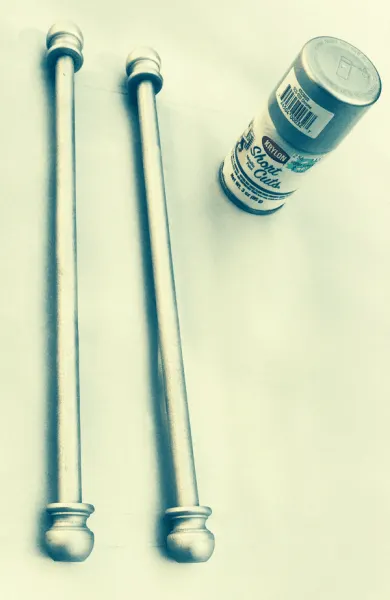
- First, you’ll need dowel rods and finials. I bought these at Hobby Lobby on the aisle that has lots of wooden supplies. The dowel rods are 1/2 inch in diameter and the finials have 1/2 inch holes. Annoyingly, the finials came in packets of 3 so I had to buy 2 packets to get the 4 that I needed.
You will also need to make sure you have some paint to use on the dowel rods and finials. I think metallics work best but obviously you can get whatever color makes sense for you. I picked up a small can of silver while I was at Hobby Lobby.
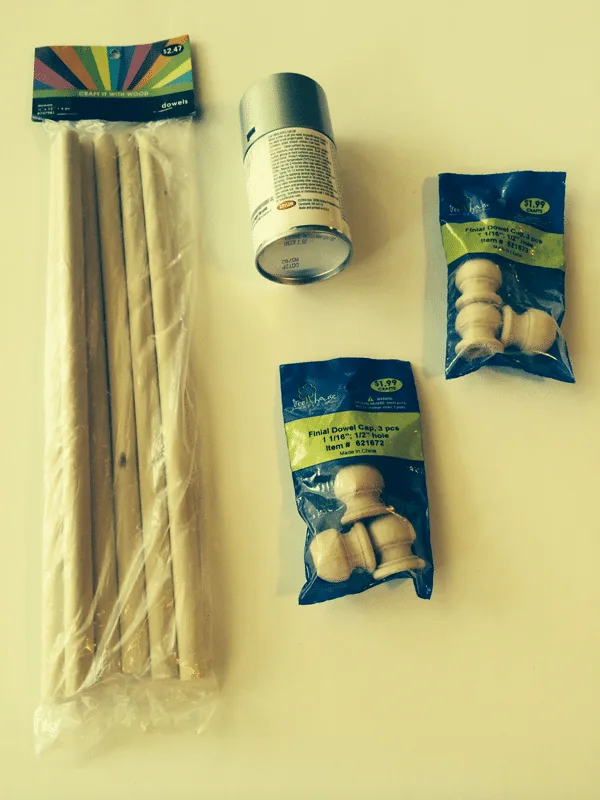

FYI: Hobby Lobby lets you show a coupon on your phone so you can get a discount without printing anything. Be sure to check Hobby Lobby Coupon if you do end up going there to shop so you can save a bit.
- After you get home, assemble your wooden pieces. I ended up cutting a few inches off of the dowels because it seems to look best when the width is just a bit wider than your paper. If you want to cut it, do it now before you paint.
My dowels fit snuggly into 3 of the 4 finials so no additional glue was needed. For the 4th one, I put a bit of wood glue into the finial and put the dowel in and let it dry for a bit.
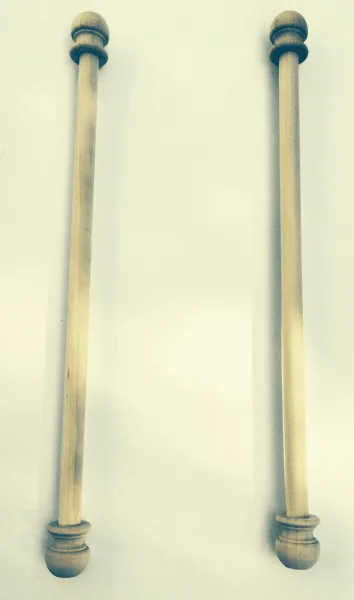

- Next, you’ll need to paint. Spray with light coats until you have the amount of coverage you’d like. They should be dry to the touch within 30 minutes but I’d give it a bit longer just to be safe.

- While you’re waiting for that to dry, you can work on the text you want to appear on your invitation.
Download my version or create your own.Princess invitation (Word format)
Fonts used: Gentium Book Basic and Murray Hill Bold
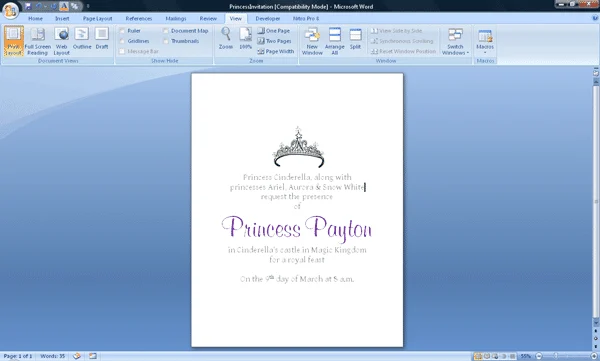
- Print out the invitation on the paper of your choice. I ended up just using regular printer paper because thicker paper was too difficult to curl around the dowels. You might want to use parchment paper to make it even nicer.
- Affix the paper to the dowels. I used wood glue but double-sided tape is also a good option.
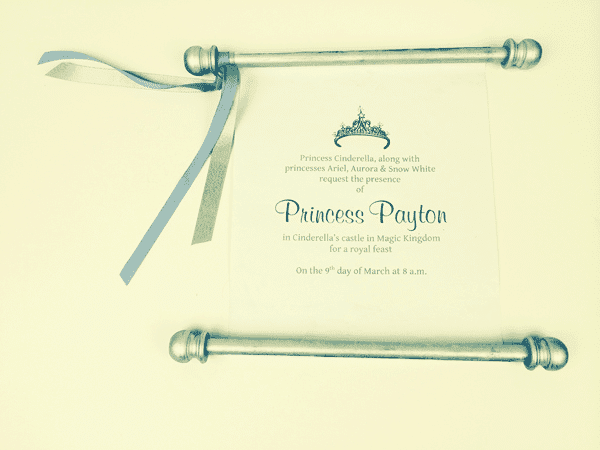

- And finally, add ribbon. I put two pieces of narrow ribbon on the top dowel and then used a piece of wider ribbon to tie the whole thing together.


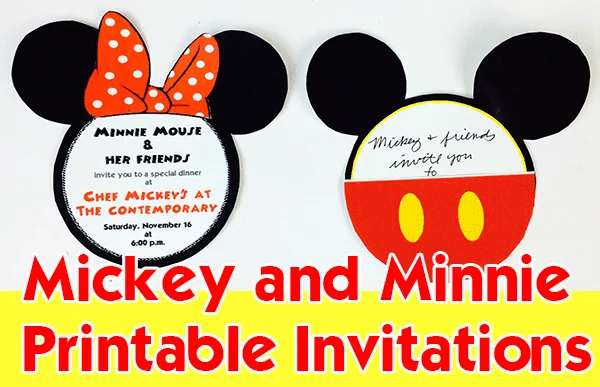
Mickey and Minnie invite you
If that last invitation seemed a bit involved to you, this one will be a lot easier.
These 2 invites are available in a Mickey and Minnie versions and simple to put together.
- First, download 1 or both of the templates. I have these in Word and PDF formats. If you want to add text to them on the computer, you will need to use the Word version. If you want to hand write the text, you can use either version.Mickey (Word format)
Mickey (PDF format)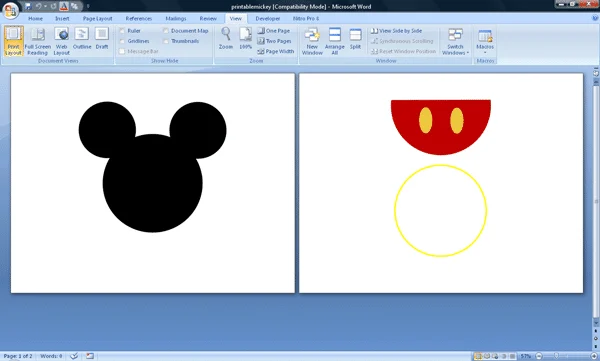 Minnie (Word format)
Minnie (PDF format)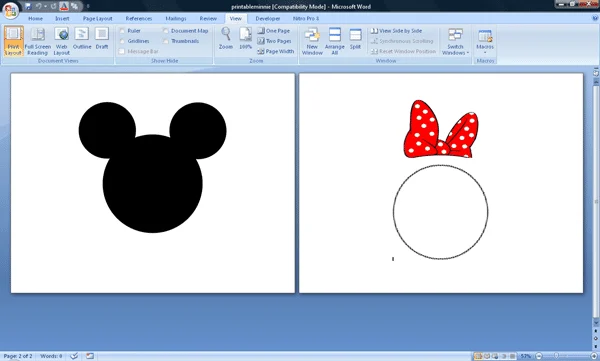
- If you want to write your text on your computer, use the circles included with each version to add some text.
- Print out the pieces of the invite. I recommend heavier paper for this if you have it. You could also print it out in grayscale and then trace on to colored paper if you like.
- Cut out the pieces and assemble. Mickey has the black Mickey head, the bottom red pocket and the white circle to insert inside.
Minnie has the black head, the bow and the circle which you’d affix to the head.
**********************
I had a lot of fun putting these together and I hope you found something you could use.
Do you have suggestions for other styles of invitations I should consider for a future post?
Please let me know about it in the comments.
Melissa
Wednesday 27th of March 2019
I noticed your link for the Caslon Becker Antique font was gone for the Pirate invite. I found a free one here :-) http://fontsgeek.com/fonts/Caslon-Becker-Antique-Regular/download
Teri
Sunday 2nd of October 2016
As others have replied, the Pirate invitation was a huge hit when received. I think the Pirates League is a secret, more affordable treasure for both boys and girls in the Magic Kingdom.
Adrianna
Thursday 24th of September 2015
Thank you Shannon! I think this will add so much fun and magic to our trip this week. My son is going to freak out over how awesome the pirate invitation looks!!
Melissa
Thursday 16th of October 2014
Thank you SO much! Just made the Pirate invite for my son and it came out AMAZING! I never would have thought to use a bag and make it look like a map (creative I am not lol). You are wonderful for sharing this!
Vicki
Friday 8th of November 2013
I have an idea for your pirate invitation so you can print on regular paper. Once the ink dries, flip the paper over and rub a damp teabag on the back (the ink will run if you apply too much water or put it directly on the ink). Once it dries, it looks older and yellowed. Some people may find it easier than cutting a paper bag to the right size! :)